Best NSFW AI Art Generator Prompts for Realistic and Anime Styles
Copyable prompt frameworks for realistic and anime outputs—plus negatives, consistency tips, and an iteration loop for better results.
If you can already get a result from an NSFW AI art generator but you keep thinking “this doesn’t look real” or “my anime character keeps changing,” you’re not missing some secret word—you’re missing a repeatable structure.
This guide is for intermediate prompt writers: quick definitions when a term first appears, then straight into templates and an iteration loop you can reuse.
Key takeaways
Use the same 5-block prompt structure for both Realistic and Anime; only the anchors change.
Realism is mostly camera + lighting + texture discipline (not “8k” spam).
Anime consistency is mostly “what you lock” (tags, outfit, framing) and “what you exclude” (style drift).
Treat negative prompts as a failure-mode list you earn through testing, not a copy-paste novel.
Lock your seed early when you’re trying to debug consistency; unlock it when you’re hunting variety.
The 5-block framework for nsfw ai art generator prompts (works for both styles)
Most prompt advice is too vague to execute. A better way is to write prompts in blocks so you know what to tweak when something goes wrong.
Here’s the core framework, inspired by mainstream text-to-image prompt structure guidance like getimg.ai’s guide to writing text-to-image prompts.
Template: the 5 blocks
Copy this as your baseline:
Block 1 — Subject:
{subject_descriptor}Block 2 — Composition:
{shot_type}, {camera_angle}, {framing}Block 3 — Lighting:
{key_light}, {fill}, {mood}Block 4 — Style anchors:
{style_anchor}Block 5 — Quality + constraints:
{quality_tags}
Negative prompt (separate field): {negatives}
Mini example (non-graphic, adult context)
Subject:
fictional adult character, mature subject, confident expressionComposition:
portrait, eye-level, tight head-and-shoulders framingLighting:
soft diffused window light, gentle shadowsStyle anchors: (swap this depending on Realistic vs Anime)
Quality:
high detail, clean background, sharp eyes
Realistic nsfw ai art prompts that feel like photos (not “AI faces”)
The biggest mistake in “realistic” prompting is staying abstract. Photoreal results come from specific photographic intent—lens, light direction, texture—so the model has less room to improvise.
Prompt structure for Realistic
Use this structure when your goal is “could pass as a portrait photo.”
Template (Realistic):
{subject_descriptor}{shot_type}, {lens}, {depth_of_field}{lighting_setup}{location_or_background}{color_grade_or_film_look}{texture_realism_cues}{quality_tags}
Where to start (fill-in suggestions):
{lens}:50mm(neutral) or85mm portrait lens(classic flattering portrait){depth_of_field}:shallow depth of field, soft bokeh{lighting_setup}:softbox key light at 45 degreesordiffused window light from the left{texture_realism_cues}:natural skin texture, visible pores, subtle imperfections
This camera/lighting specificity is a common theme in realism prompting resources such as Queststudio’s camera + lighting prompt cheatsheet (2026).
Style anchors that work for Realistic
Instead of stacking generic “photorealistic, ultra realistic” forever, pick one anchor per category:
Camera language:
DSLR photo,RAW photo,editorial portraitLighting language:
Rembrandt lighting,soft diffused studio lighting,rim light separationColor language:
natural color grading,film-like tones
Pick a set, then stop. Over-anchoring often creates plastic skin or weird HDR.
Negative prompts for cleaner Realistic outputs
A negative prompt is just a list of what you don’t want. (First mention definition: negative prompt = a separate text field that tells the model what to avoid.)
Start with a small base list, then only add items you repeatedly see.
Template (Realistic negatives):
blurry, low quality, out of focus, bad anatomy, deformed hands, extra fingers, watermark, text, over-smooth skin, plastic skin, uncanny face, overexposed
If you want a deeper mental model (instead of bigger lists), use your internal guide on negative prompts for cleaner NSFW AI images.
Settings that typically pair well with Realistic prompting
Quick definitions (one-liners):
Seed: the random starting number; reuse it to reproduce a result while you tweak your prompt.
CFG: how strongly the model follows your text; higher isn’t always better.
Sampler: the method used to denoise; it changes texture and stability.
Intermediate rule: don’t chase “perfect” settings first. Get a strong prompt structure, then adjust one parameter at a time.
If you want a concrete reference point for where these controls live, use the Content Generation Settings section of your generator page (DeepSpicy).
Common Realistic pitfalls (and what to change)
If you’ve hit these failure modes, here’s the fastest fix path:
Skin looks like wax / plastic → remove excessive “HDR/ultra” tags, add texture cues (
natural skin texture, subtle imperfections), lower your “beauty” modifiers.Eyes look dead → add
sharp eyes, catchlightand simplify the background.Hands keep breaking → add targeted negatives (
bad hands, extra fingers) and tighten composition (crop tighter, hands out of frame).It looks like CGI → add a camera anchor (
RAW photo, DSLR) and negative outcgi, 3d render.
For a broader checklist of mistakes (prompt bloat, conflicting cues, drifting subjects), link this to your internal post on common NSFW AI prompt mistakes and fixes.
4 light Realistic examples (copy + swap variables)
These are framework examples—they stay non-graphic and rely on placeholders you can adapt.
Studio portrait realism
Prompt:
fictional adult character, {hair}, {expression}, portrait, 85mm portrait lens, shallow depth of field, softbox key light at 45 degrees, clean studio backdrop, natural color grading, natural skin texture, sharp eyes, editorial photography
Cinematic low-key realism
Prompt:
fictional adult character, {wardrobe}, half-body shot, 50mm lens, low-key lighting, rim light separation, subtle haze, film-like tones, realistic shadows, high detail
Window-light candid realism
Prompt:
mature subject, candid portrait, eye-level, diffused window light from the left, soft shadows, quiet interior background, natural skin texture, film photo look
Environmental portrait realism
Prompt:
adult subject, environmental portrait, 35mm lens, moderate depth of field, golden hour sunlight, soft bokeh background, natural color grading, realistic fabric texture, sharp facial detail
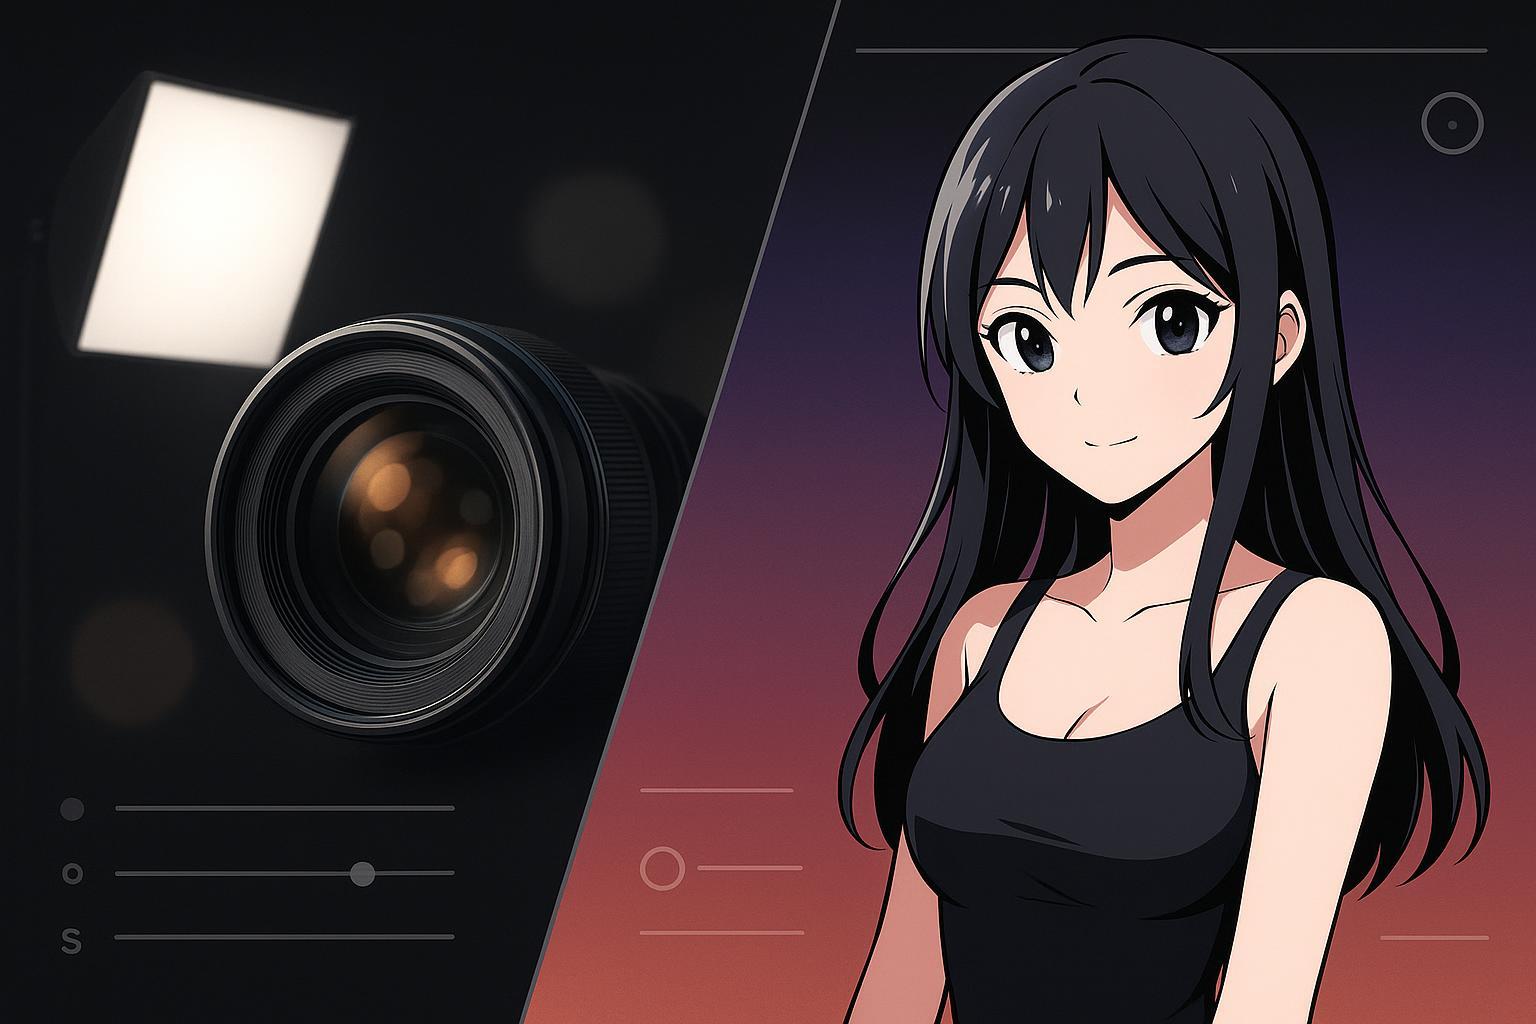
Anime: prompts that keep the same character (and stop style drift)
Anime prompting is less about “camera realism” and more about tag discipline: what you lock, what you vary, and what you ban.
A practical reference for this approach is NovelAI’s character creation tutorial, which emphasizes consistent subject tags and incremental refinement.
Prompt structure for Anime
Write your anime prompt like a stack of tags, then keep the “identity layer” stable.
Template (Anime tag stack):
Identity layer (lock this):
{subject_tags}{core_appearance_tags}{outfit_tags}
Scene layer (vary this):
{pose_or_action_tags}{background_tags}
Style layer (keep consistent per series):
{anime_style_anchor}{quality_tags}
Mini example (non-graphic):
Identity:
1girl, solo, fictional adult character, {hair_color}, {hair_style}, {eye_color}, {signature_accessory}Outfit:
{outfit_top}, {outfit_bottom}, {color_palette}Scene:
portrait, looking at viewer, simple backgroundStyle:
anime illustration, clean lineart, cel shading, high detail
Style anchors that work for Anime
Pick anchors that match the look you want, then keep them steady:
anime illustration, clean lineartcel shading, soft gradientshighly detailed, crisp edges
Avoid mixing anchors that fight each other (e.g., “photoreal skin pores” + “cel shading”). That’s how drift happens.
Negative prompts for cleaner Anime outputs
Anime negatives often need to do two jobs:
remove anatomy/quality issues
block “style contamination” (sudden realism, CGI, painterly textures)
Template (Anime negatives):
lowres, blurry, worst quality, bad anatomy, extra fingers, extra limbs, deformed hands, watermark, text, multiple people, photorealistic, realistic skin texture, 3d render, cgi
(Yes, you’ll see overlap with realism negatives—but the style drift blockers are the key difference.)
Settings that typically pair well with Anime prompting
Quick definitions (one-liners):
Sampler: affects texture and line quality; keep it consistent while you debug.
Steps: more steps can stabilize details, but too many wastes time.
Seed: lock it when you’re testing changes; change it when you’re exploring new compositions.
Practical workflow rule: lock seed + aspect ratio while you’re tuning the identity layer. Once the character feels stable, unlock one constraint at a time.
Common Anime pitfalls (and what to change)
Character “changes face” every generation → add more core appearance tags; keep outfit tags consistent; lock seed during tuning.
Extra characters appear → add/keep
soloand negative outmultiple people, extra characters.Style suddenly looks semi-realistic → negative out
photorealistic, realistic skin, cgiand remove conflicting positive anchors.Outfit colors drift → specify colors in outfit tags (don’t rely on the model to remember).
If you want the deeper, platform-agnostic workflow for consistency, connect this section to your internal guide on how to keep character consistency in NSFW AI images.
4 light Anime examples (copy + swap variables)
Stable portrait identity
Prompt:
1girl, solo, fictional adult character, {hair_color}, {hair_style}, {eye_color}, {signature_accessory}, portrait, looking at viewer, simple background, anime illustration, clean lineart, cel shading, high detail
Outfit-locked variations
Prompt:
1girl, solo, fictional adult character, {hair_color}, {hair_style}, {eye_color}, {outfit_top}, {outfit_bottom}, {outfit_colors}, {pose}, anime illustration, crisp edges, high detail
Mood-first anime scene
Prompt:
1girl, solo, fictional adult character, {core_appearance}, {outfit}, {background}, soft lighting, atmospheric, anime illustration, soft gradients, clean lineart
Style-drift resistant stack
Prompt:
1girl, solo, fictional adult character, {core_appearance}, {outfit}, portrait, anime illustration, cel shading, clean lineart, high detailNegative:
photorealistic, realistic skin texture, cgi, 3d render, text, watermark, multiple people
Cross-style advanced: the iteration loop that actually improves results
You don’t get consistency by writing “better prompts” once. You get it by running a tight loop.
(One-liner definition: a LoRA is a small add-on model that can steer a base model toward a specific character/style; if you use one, treat it as part of your “style anchor.”)
The 7-step loop
Pick a target: “Realistic portrait with natural skin texture” or “Anime portrait with locked outfit + face.”
Write one baseline prompt using the correct template above.
Generate a small batch (enough to see patterns).
Name the failure mode (one sentence): “hands broken,” “CGI skin,” “extra character,” “style drift,” etc.
Apply one change only:
prompt change or negative change or a single setting change.
Lock what worked (copy the exact phrase into your template’s identity/anchor blocks).
Only then expand: new poses, new backgrounds, new compositions.
This kind of structured experimentation aligns with general prompt-engineering guidance such as Portkey’s Stable Diffusion prompt engineering overview.
Two negative-prompt patterns worth stealing
Quality floor (always on):
blurry, low quality, watermark, textStyle guard (turn on when drift appears):
Realistic guard:
cgi, 3d render, cartoonAnime guard:
photorealistic, realistic skin texture, cgi
If you’re building a bigger negative library, put it in a single place and treat it like code: version it, test it, prune it.
Settings checklist (practical, not dogmatic)
Use this when you’re stuck and want a fast reset:
Keep aspect ratio fixed while debugging consistency.
Lock seed when testing changes; unlock it when exploring.
Don’t change prompt + negatives + settings in the same iteration.
If you’re unsure whether you’re doing “art prompting” or “image prompting,” align terms with your internal comparison post on NSFW AI art generator vs NSFW AI image generator.
When you’re ready to apply these controls inside a real generator UI, the most useful reference is simply the settings section itself: [/nsfw-ai-art-generator/# Content Generation Settings](/nsfw-ai-art-generator/# Content Generation Settings).
Next steps
If you want more copyable templates to remix, start with 35 copyable NSFW AI prompt templates.
If your goal is “same character, many scenes,” go deeper on character consistency in NSFW AI images.
If you want to put these templates into practice right away, start here: [DeepSpicy](/nsfw-ai-art-generator/# Content Generation Settings).
Responsible-use note: Keep all generations adult-only, consent-based, and free of real-person likenesses.