Common NSFW AI Prompt Mistakes (and How to Fix Them)
A deep troubleshooting guide for beginners: the most common NSFW AI prompt mistakes, why they happen, and minimal fixes for anatomy, composition, and consistency—without guesswork.
Adults-only (18+) note: This article is for adults. It’s educational and focused on prompt troubleshooting mechanics—no explicit content.
If you’ve ever typed what felt like a “perfect” NSFW prompt, hit generate… and got something unusable (strange anatomy, weird composition, random style shifts, or results that ignore your intent), you’re not alone.
Most failures aren’t caused by one “bad prompt.” They’re caused by a small set of repeatable mistakes: too many moving parts, conflicting instructions, weak (or overloaded) negatives, and changing settings while you troubleshoot.
This guide is a calm, practical fix-it page: symptom → likely cause → minimal fix → when to escalate.
Key takeaways
Stop changing everything at once. Lock your seed and core settings so you can tell what actually improved.
Make the subject unambiguous. Put the main subject first; remove conflicting details.
Use negative prompts like a scalpel, not a junk drawer. Too many negatives can backfire.
Give the model enough pixels for faces/hands. If those areas are tiny, they’ll break.
Fix small areas with targeted edits. Inpainting a problem spot is often faster than rewriting the whole prompt.
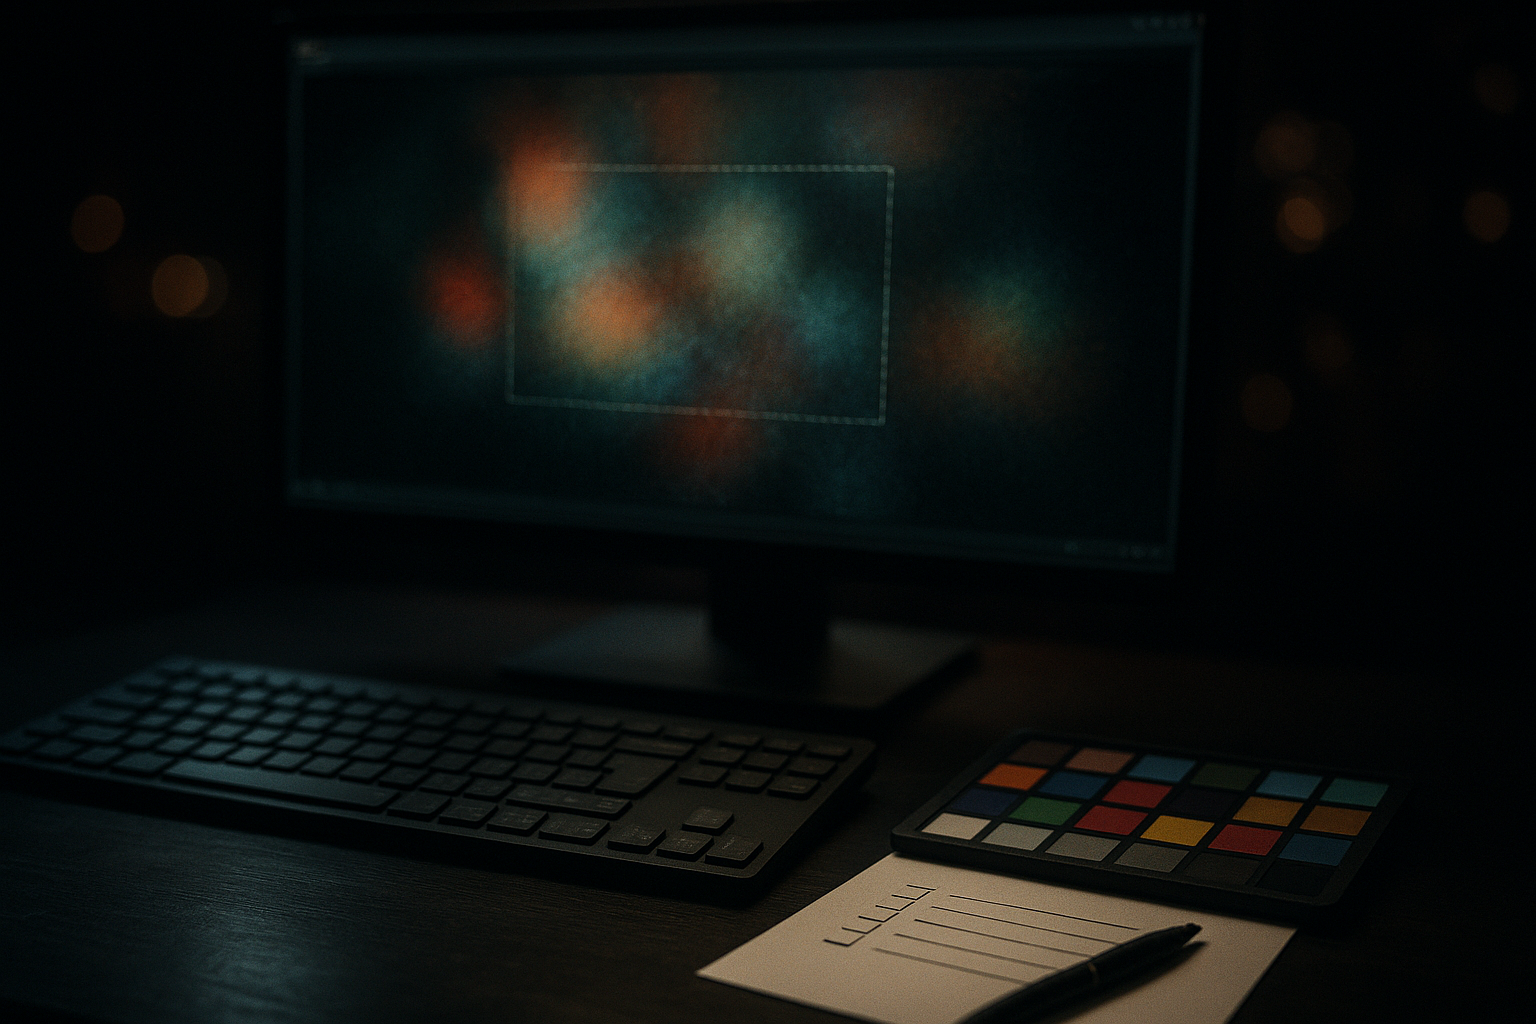
First: a 60-second reset that prevents 80% of frustration
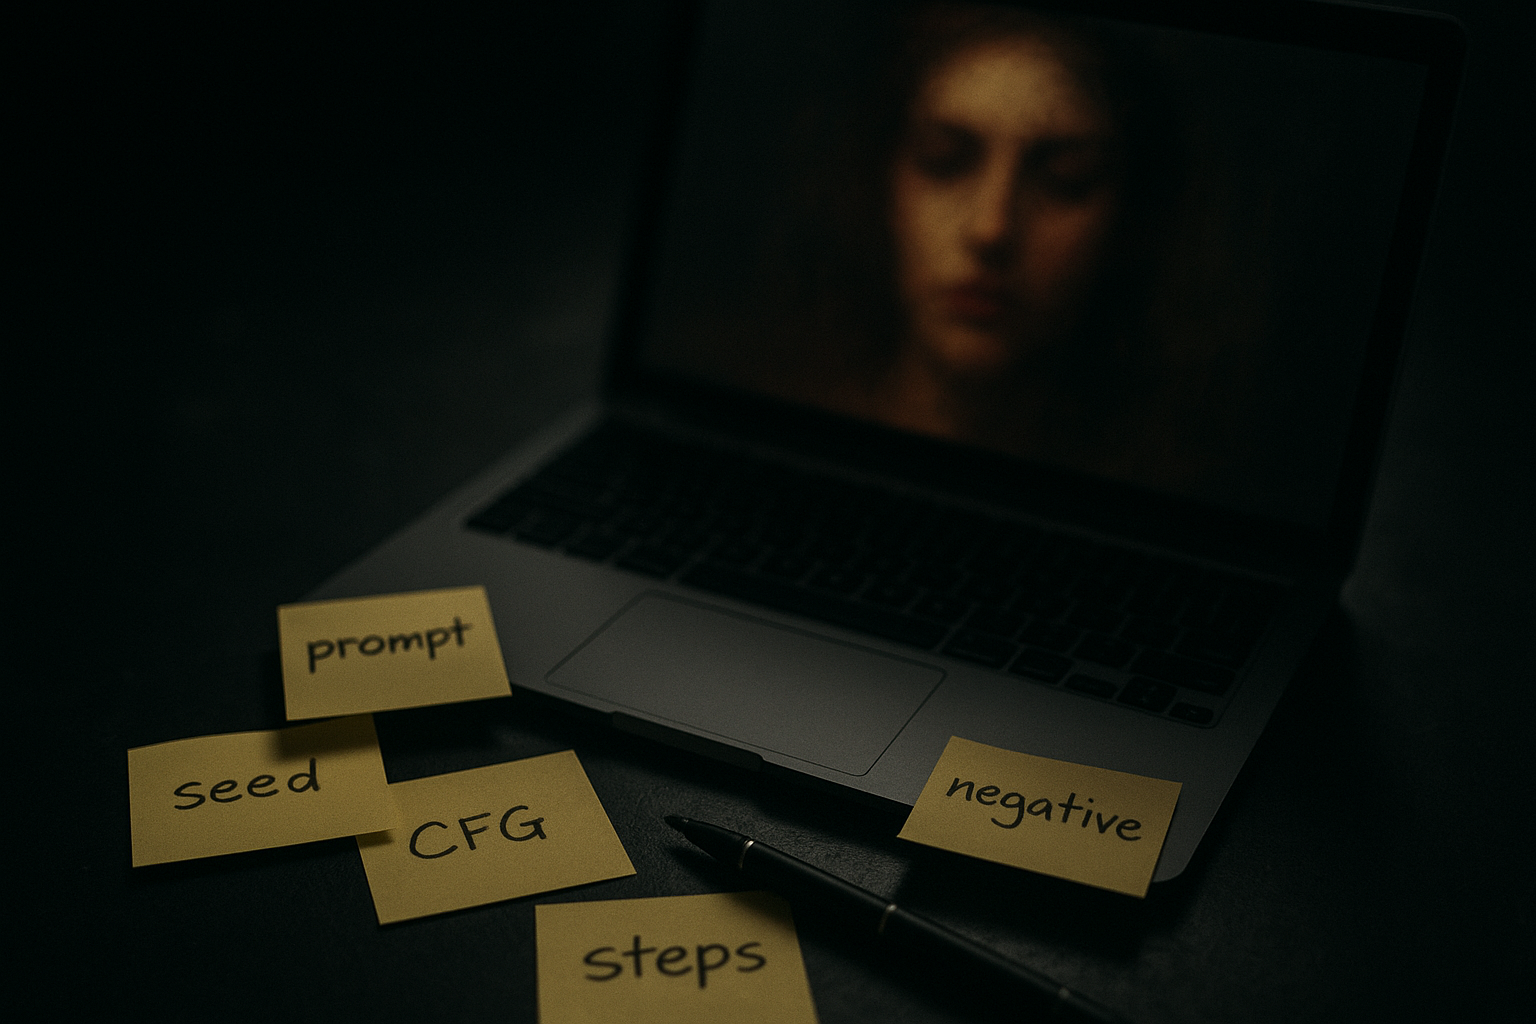
Before you edit your prompt, lock your variables. Otherwise, you’ll “fix” something by accident—and never be able to repeat it.
Lock these 6 things for troubleshooting
Seed (or any “fixed seed” / “lock seed” toggle)
Model / checkpoint
Resolution (width × height)
Steps
CFG / guidance scale
Sampler
Then do this:
Generate 4 images with the same prompt and settings.
Pick the “closest” one.
Only then start making small, deliberate changes.
If you want a beginner-friendly walkthrough that covers seeds, negatives, and a fast inpainting fix, use the NSFW AI Generator for Beginners quickstart.
Mistake 1: Your prompt is trying to describe two different images
The symptom
The output looks like it “can’t decide” what it’s making.
Details contradict each other (style changes mid-image, mismatched lighting, inconsistent environment).
The likely cause
You’ve stacked incompatible instructions:
multiple styles (“cinematic film” + “anime cel shading” + “oil painting”)
multiple lighting setups (“soft window light” + “neon nightclub”)
multiple compositions (“close-up portrait” + “full body”)
Diffusion models don’t negotiate. They average.
The minimal fix
Use a two-block prompt:
Block A (subject + composition): who/what, camera framing, pose, environment.
Block B (style + lighting): one style, one lighting direction.
Then delete anything that conflicts.
When to escalate
If you need multi-style experimentation, do it in separate runs:
Run 1: lock subject + composition
Run 2: vary style block only
That way you learn what each change does.
Mistake 2: The subject is buried, vague, or arrives too late
The symptom
The generator ignores your main idea.
You get the wrong subject, wrong framing, or random extra elements.
The likely cause
Many models heavily weight the earliest tokens. If your prompt starts with atmosphere and adjectives, the model may “commit” before it reaches the actual subject.
The minimal fix
Put the subject first. Literally.
Start with: “A single subject …”
Then add: framing (portrait/full body), pose, environment.
Save style adjectives for later.
Also: remove “filler adjectives.” If a word doesn’t change the image, it’s noise.
When to escalate
If the model keeps inserting extra people or doubling features, simplify:
“one person” / “single subject”
plain background
fewer props
Mistake 3: You’re chasing full-body composition without giving the model lower-body anchors
The symptom
You asked for full body, but you get cropped legs/feet.
The likely cause
The model doesn’t “obey” “full body” as strongly as you think. It responds better to concrete lower-body details.
The minimal fix
Add explicit lower-body anchors:
standing, full-length, legs visible, shoes visible
long dress / skirt / pants (depending on intent)
Also choose a resolution that supports your framing.
A practical note from Stable Diffusion Art’s 2024 guide to common image problems and fixes: aspect ratio can influence certain portrait artifacts (like “two heads”) and framing outcomes. If you’re troubleshooting composition, test a more neutral ratio first—then move back to your desired framing.
When to escalate
If composition still breaks, stop rewriting your prompt and use a structural aid (pose/reference controls) or do targeted edits. Composition is often a control problem, not a wordsmithing problem.
Mistake 4: Your negative prompt is either too weak—or it’s an unfiltered dumpster list
The symptom
Weak negatives: repeated anatomy glitches, extra fingers, warped faces.
Overloaded negatives: muddy images, loss of detail, “it got worse,” or removal of features you actually wanted.
The likely cause
Negative prompts work, but they’re not magic—and “more” isn’t automatically “better.”
Max Woolf describes negative prompts as a conceptual “avoid” anchor during generation, and notes that misapplied negatives can ruin outputs by removing things you didn’t mean to remove (his 2022 explainer focuses on Stable Diffusion 2.0, but the steering principle generalizes): Max Woolf’s 2022 explainer on negative prompts in Stable Diffusion 2.0.
The minimal fix
Start with a short, consistent negative core you reuse across runs (think: 10–20 terms, not 80).
Then add one of these only if needed:
a small “hands/limbs” pack
a small “quality” pack (blur/noise)
And always test in isolation.
A counterintuitive tip
If you keep adding negatives and your results keep degrading, try deleting half your negatives and regenerating.
Your goal is not to punish the model. It’s to clarify the target.
When to escalate
If deformities persist across many seeds, it’s often a model quality / resolution / pixel coverage issue. At that point, your best move is to:
increase resolution (within your tool’s limits)
generate more candidates with locked settings
fix localized issues with inpainting
Mistake 5: Faces and hands are failing because they’re too small in the frame
The symptom
faces look melted or asymmetrical
hands are wrong (too many fingers, fused fingers)
The likely cause
These details need enough pixels. If the face or hands occupy too few pixels, the model doesn’t have room to draw them cleanly.
The fix is often not “a better prompt.” It’s more pixel coverage plus a localized repair workflow.
The minimal fix
Choose one path:
Reframe so the face/hands are larger.
Use a higher resolution (if available) so small details have more pixels.
Generate, then repair: keep the best overall image and fix only the broken areas.
Stable Diffusion Art’s guide recommends targeted fixes like inpainting for faces/hands when they break: Stable Diffusion Art’s 2024 guide to common image problems and fixes.
When to escalate
If you’re repeatedly hitting hand/face failures, consider building a repeatable repair loop:
Generate 8–16 candidates with locked settings
Pick the best composition
Inpaint the face/hands 1–3 times maximum
Stop when it’s “good enough” and move on
Per Learn Prompting’s 2024 notes on fixing deformed generations, you should expect some inconsistency and iteration—even with solid negatives. That’s normal.
Mistake 6: You’re changing steps/CFG randomly and don’t know what you improved
The symptom
Sometimes it’s detailed, sometimes it’s flat.
You can’t reproduce “the good one.”
The likely cause
You’re moving multiple quality dials at once.
The minimal fix: use a simple quality ladder
Keep your baseline, then test one rung at a time:
Rung 1: baseline prompt + baseline negatives
Rung 2: increase steps a bit
Rung 3: adjust CFG slightly
Rung 4: increase resolution or use a high-res workflow
Make one change. Save the winning setting. Then proceed.
Pro Tip: If your image looks “almost right,” don’t restart from scratch. Lock the seed, keep the prompt, and do targeted edits.
Mistake 7: You’re rewriting the whole prompt instead of fixing the one failing constraint
The symptom
You fix one thing but lose everything else.
Each attempt feels like a different image.
The likely cause
Your prompt is doing too much work at once. When you rewrite everything, you force the model to renegotiate the entire image.
The minimal fix: isolate the failing constraint
Use this 3-question diagnostic:
Is the subject wrong? (identity/composition)
Is the look wrong? (style/lighting)
Is the quality wrong? (detail/noise/anatomy)
Then change only the block that controls that category.
Subject wrong → edit Block A
Look wrong → edit Block B
Quality wrong → settings + negatives + repair workflow
Mistake 8: You’re trying to “force” realism with generic quality buzzwords
The symptom
The output gets glossy in a bad way, or your intent gets diluted.
The likely cause
Buzzword stacks (“8k, ultra detailed, masterpiece…”) can drift the image away from your actual concept.
Max Woolf also notes that overloading prompts with generic additions can ruin intent, while negatives can be a cleaner control lever in some cases: Max Woolf’s 2022 explainer on negative prompts in Stable Diffusion 2.0.
The minimal fix
Use one quality direction that matches your goal (e.g., “sharp focus” or “film grain”), then rely on:
good composition instructions
stable settings
localized repair
A simple troubleshooting loop you can reuse every time
When you’re stuck, run this loop. It’s designed to prevent the “spiral of randomness.”
Step 1: Pick a baseline you can repeat
lock seed + settings
keep a short prompt + short negatives
Step 2: Diagnose the failure type
subject/composition
style/lighting
quality/anatomy
Step 3: Make one minimal change
reorder subject
remove a conflicting detail
add one negative pack
adjust one setting
Step 4: Verify with a small batch
Generate 4 images. If none are better, revert the change.
Step 5: Repair instead of restarting
If 80% is good, inpaint the broken 20%.
Key Takeaway: The goal isn’t a “perfect prompt.” It’s a repeatable process that gets you to usable results quickly.
Next steps
If you want a guided place to apply these fixes (prompt blocks, negatives, seed locking, and quick edits) without rebuilding your workflow every time, start here: DeepSpicy NSFW AI Generator.
To go deeper on prompt structure and control (especially negatives and reproducibility), follow the uncensored AI prompts guide.
FAQ
Why do my results change so much even when I “use the same prompt”?
Because a “same prompt” isn’t the full recipe. If seed, model, resolution, sampler, steps, or CFG changes, the output can change dramatically. Lock the core settings during troubleshooting.
Are negative prompts always necessary?
Not always, but they’re one of the most reliable tools for reducing recurring artifacts. Use a short core list you trust, then add targeted negatives only when a specific failure keeps showing up.
Why does adding more negative terms sometimes make it worse?
Because negatives can suppress concepts you actually need, or they can overconstrain the model in a way that reduces detail. Treat negatives as a precise control, not a checklist.
What’s the fastest fix when only one small area is wrong?
Targeted edits. If your overall composition is good, inpainting the broken region is usually faster (and more repeatable) than rewriting the entire prompt.
Do I need to know all the jargon to get good results?
No. You only need a small working set (prompt, negative prompt, seed, steps, CFG). Learn one concept at a time and keep your workflow stable while you practice.